50 Simple Nail Art Ideas You Can Do at Home 💅
You don’t need a salon appointment — or a professional budget — to have gorgeous nails. With the right tools and a little patience, you can master stunning nail art right at your kitchen table. We’ve rounded up 50 simple nail art ideas that range from beginner-friendly to satisfyingly intricate, all doable at home.
Whether you’re rocking short natural nails, long acrylics, or gel extensions, there’s something on this list for every skill level and mood. Let’s dive in.
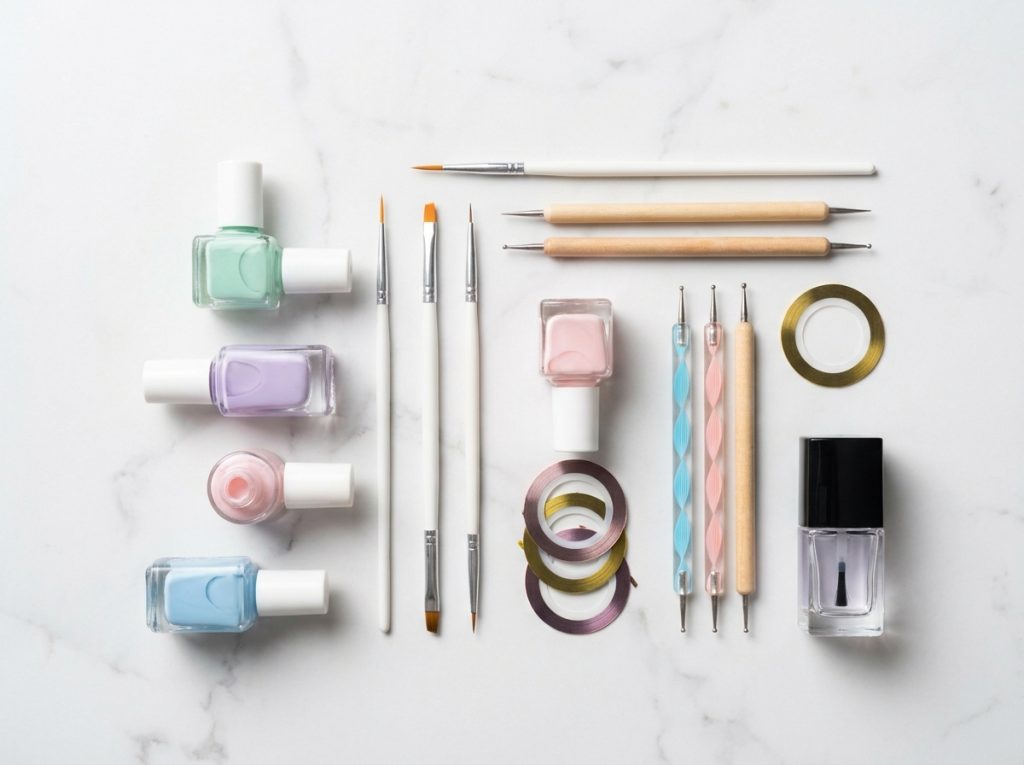
“Flat lay of nail art supplies on a marble surface: nail polishes in pastel shades, thin nail art brushes, dotting tools, striping tape, and a clear top coat — soft natural lighting, beauty editorial style”
Why DIY Nail Art Is Trending in 2026
The at-home nail art revolution exploded during the pandemic and hasn’t slowed down. In fact, searches for “nail art at home” have grown by over 200% in the last three years. Social platforms like TikTok and Pinterest are flooded with tutorials — and brands have responded by making pro-quality tools available for everyday consumers.
Beyond aesthetics, nail art is a genuine form of self-expression. Your nails are the one canvas you carry everywhere. And unlike an expensive haircut or outfit, a bold nail look costs just a few dollars to create — and change whenever you like.
Bonus: Studies in behavioral psychology suggest that small acts of self-care like painting your nails can meaningfully boost mood and reduce anxiety. That’s a pretty good reason to pick up a brush.
Tools You’ll Need Before You Start
Before we get to the ideas, make sure your at-home nail kit includes these essentials:
Essential Nail Art Kit
- Base coat and glossy top coat
- At least 3–4 nail polishes in your chosen palette
- A thin nail art brush or striping brush
- Dotting tools (or a bobby pin as a substitute)
- Nail striping tape and stickers
- Nail polish remover and cleanup brush
- A good quality LED lamp if using gel polish
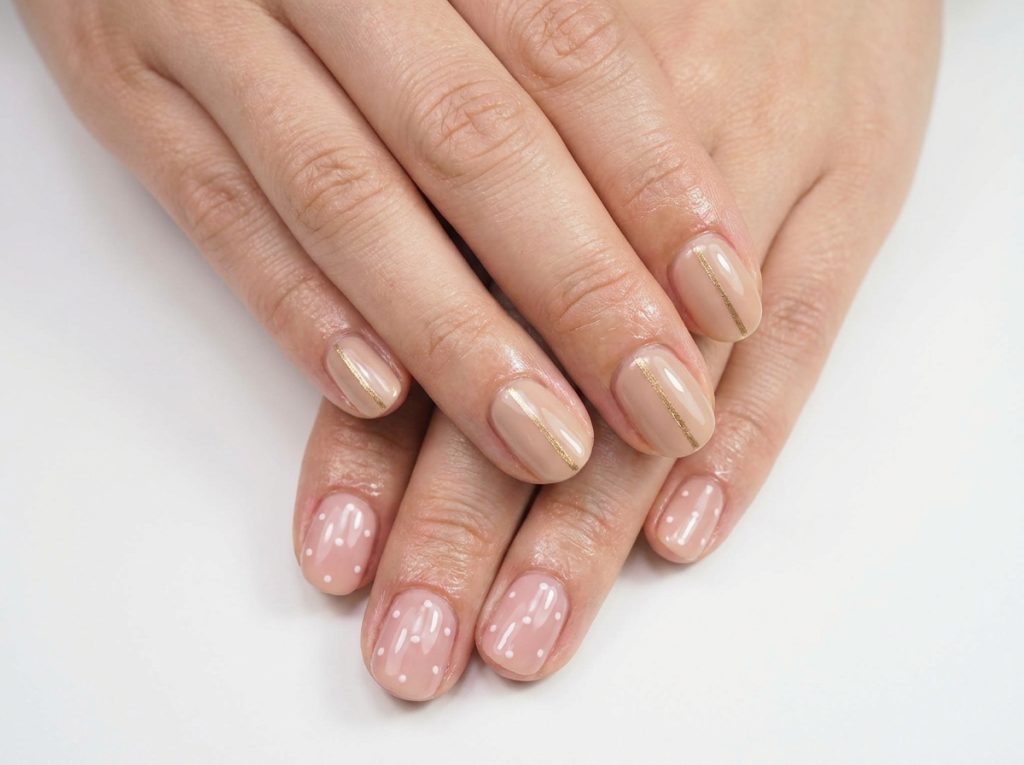
“Close-up of two hands with freshly painted minimalist nail art: one hand showing a nude base with a single thin gold stripe down the center of each nail, the other with small white dots on a blush pink base — clean white background, macro photography”
Beginner Nail Art Ideas (1–15)
These designs require little to no tools beyond a basic brush. Perfect if you’re just starting out.
| # | Nail Art Style | Difficulty | Tools Needed |
|---|---|---|---|
| 01 | Classic French Tips | Beginner | Nail guide stickers / tape |
| 02 | Pastel Solid Colors | Beginner | Nail polish, top coat |
| 03 | Two-Tone Half Moon | Beginner | Reinforcement stickers / tape |
| 04 | Polka Dot Nails | Beginner | Dotting tool or bobby pin |
| 05 | Striped Accent Nail | Beginner | Striping tape or thin brush |
| 06 | Ombre Gradient | Beginner | Makeup sponge, 2 polishes |
| 07 | Negative Space Lines | Beginner | Striping tape |
| 08 | Glitter Tips | Beginner | Glitter polish, top coat |
| 09 | Monochrome Dots | Beginner | Dotting tool, 1 polish color |
| 10 | Color Block Diagonals | Beginner | Tape, 2 contrasting polishes |
| 11 | Sticker Art Nails | Beginner | Nail stickers, top coat |
| 12 | Tape Geometric | Beginner | Striping tape, 2+ polishes |
| 13 | Nude + White Tips | Beginner | Nude base, white polish |
| 14 | Holographic Foil | Beginner | Nail foil, foil glue |
| 15 | Sheer Jelly Nails | Beginner | Sheer/jelly polish, gloss coat |
How to Do the Ombre Gradient (Design #6)
Apply a light base color across all nails. On a makeup sponge, dab two complementary shades next to each other. Press the sponge lightly onto the nail in a dabbing motion, blending the colors as you go. Apply two coats and seal with a glossy top coat. Clean up edges with a cleanup brush soaked in remover. The result is a dreamy salon-quality gradient — no airbrush needed.
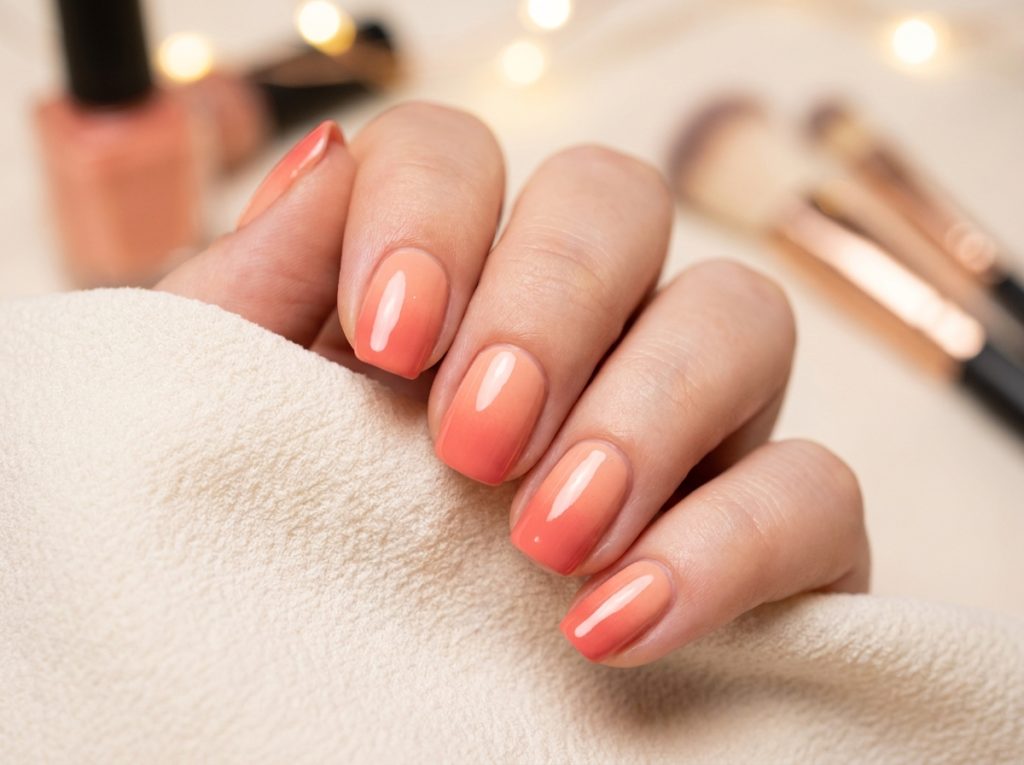
“Macro photo of a woman’s hand with peach-to-coral ombre nail art, soft gradient blending across all 5 nails, glossy finish, neutral background with soft bokeh — beauty product photography style”
Intermediate Nail Art Designs (16–30)
You’ve graduated from solids and dots. These designs take a steady hand and maybe 20–30 minutes of extra focus — totally worth it.
| # | Nail Art Style | Difficulty | Tools Needed |
|---|---|---|---|
| 16 | Floral Stamping | Intermediate | Stamping plate, scraper, stamper |
| 17 | Abstract Brush Strokes | Beginner | Thin brush, multiple polishes |
| 18 | Checkerboard Pattern | Intermediate | Detail brush, 2 colors |
| 19 | Tortoiseshell Nails | Advanced | Sheer brown polish, sponge, brush |
| 20 | Sunset Sky Design | Intermediate | Sponge, gradient colors |
| 21 | Swirl Marble Look | Intermediate | Needle/tool, mixed polish colors |
| 22 | Butterfly Wing Art | Advanced | Fine brush, detail liner |
| 23 | Cow Print Nails | Beginner | Dotting tool, black & white polish |
| 24 | Gold Foil Accents | Beginner | Gold foil, adhesive, top coat |
| 25 | Micro French Tip | Intermediate | Thin liner brush |
| 26 | Tie-Dye Nails | Intermediate | Sponge, multiple colors |
| 27 | Lace Stamping | Advanced | Stamping plate, lace pattern |
| 28 | Geometric Triangles | Intermediate | Tape, detail brush |
| 29 | Watercolor Wash | Intermediate | Diluted polish, brush |
| 30 | Constellation Dots | Beginner | Dotting tool, glitter polish |
How to Do Tortoiseshell Nails (Design #19)
Start with an amber-gold base and let it dry fully. Use a thin brush or toothpick to dab irregular patches of dark brown and black in scattered, organic shapes across the nail. Before it dries, blend edges lightly with a dry brush. Finish with a high-gloss top coat for that authentic, resinous tortoiseshell depth. It’s surprisingly forgiving — imperfect blotches look more realistic, not less.

“Close-up of tortoiseshell nail art on almond-shaped nails — warm amber base with irregular dark brown and black patches, high-gloss finish, elegant hand pose on cream fabric background”
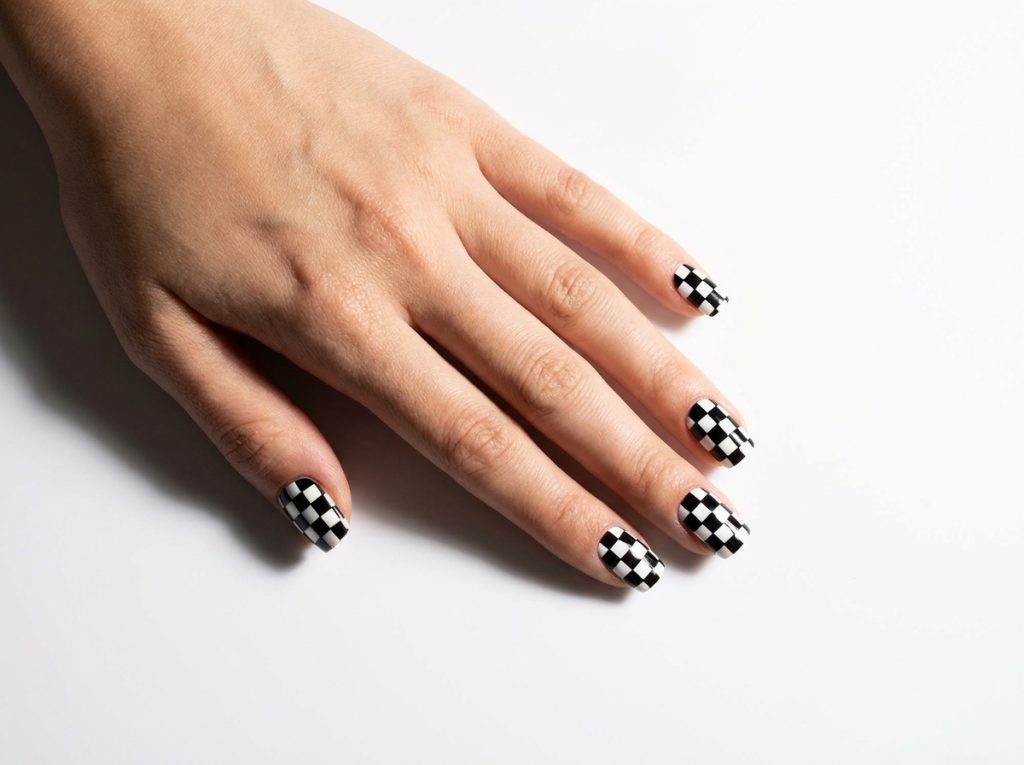
“Top-down view of a hand with checkerboard nail art in black and white, square-shaped nails, clean geometric precision, studio white background with dramatic side lighting”
Advanced & Trendy Nail Art Designs (31–50)
These designs push the boundary between home manicure and nail artistry. Take your time, and don’t be afraid to practice on a piece of plastic wrap first.
| # | Nail Art Style | Difficulty | Tools Needed |
|---|---|---|---|
| 31 | 3D Floral Petals | Advanced | 3D gel/acrylic, sculpting brush |
| 32 | Chrome Powder Mirror | Intermediate | Chrome powder, applicator, gel top |
| 33 | Smiley Face Art | Beginner | Dotting tool, detail brush |
| 34 | Flames & Fire Tips | Intermediate | Detail brush, gradient colors |
| 35 | Mushroom Cottagecore | Intermediate | Fine brush, earthy tones |
| 36 | Cat-Eye Gel Nails | Intermediate | Magnetic gel polish, magnet tool |
| 37 | Aura Nails | Intermediate | Airbrush/sponge, gradient colors |
| 38 | Glazed Donut Nails | Beginner | Sheer polish, chrome powder |
| 39 | Cloud Nails | Beginner | Sponge, white polish |
| 40 | Spiderweb Design | Intermediate | Thin liner brush |
| 41 | Retro Daisy Nails | Beginner | Dotting tool, 2 colors |
| 42 | Dripping Heart | Intermediate | Detail brush, gel polish |
| 43 | Y2K Butterfly Gems | Intermediate | Rhinestones, nail glue |
| 44 | Hand-Painted Mushrooms | Advanced | Fine detail brush |
| 45 | Galaxy Nails | Intermediate | Sponge, glitter polish |
| 46 | Yin Yang Nails | Intermediate | Detail brush, dotting tool |
| 47 | Pearl & Crystal 3D | Advanced | Pearls, crystals, nail glue |
| 48 | Lemon Slice Art | Intermediate | Detail brush, yellow/white polish |
| 49 | Bow Nails (3D) | Advanced | 3D gel, sculpting tool |
| 50 | Abstract Portrait | Advanced | Fine brush, multiple colors |
Glazed Donut Nails — The Viral Classic (Design #38)
The Hailey Bieber-popularized glazed donut manicure has become one of the most searched nail styles of the decade. To recreate it: apply a sheer milky pink or white base, then while the top coat is still slightly tacky, buff chrome powder over the nails using a sponge applicator or your fingertip. The result is an ethereal, pearlescent shimmer that looks like it’s lit from within. Simple — but endlessly gorgeous.
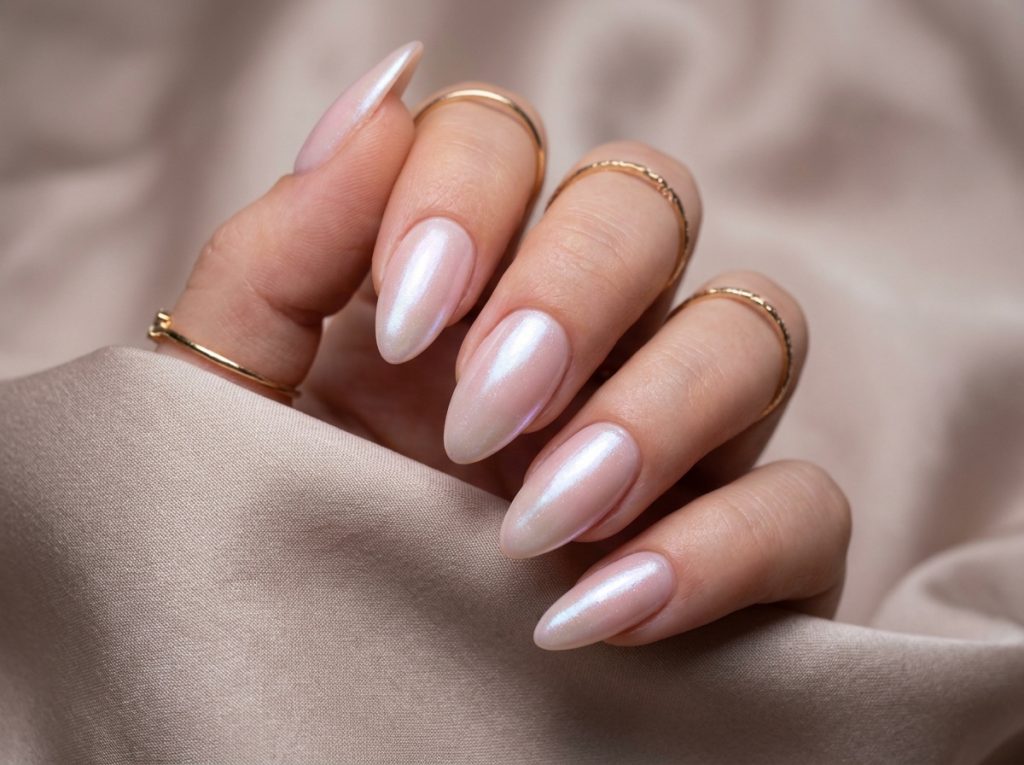
“Elegant close-up of glazed donut nails — opalescent pearl shimmer on almond nails with a milky pink base, chrome powder finish, soft diffused studio lighting, ultra high resolution beauty photography”
Aura Nails — The Newest Trend (Design #37)
Aura nails take the ombre gradient to a dreamy new level. Instead of blending tip to base, you create a glowing halo effect at the center of the nail using a sponge. Think: a soft lavender glow emanating outward from a white center — like the nail is lit from inside. Use a dry sponge with thin coats of two to three shades, building the “aura” gradually. Seal with a glossy top coat to intensify the depth.
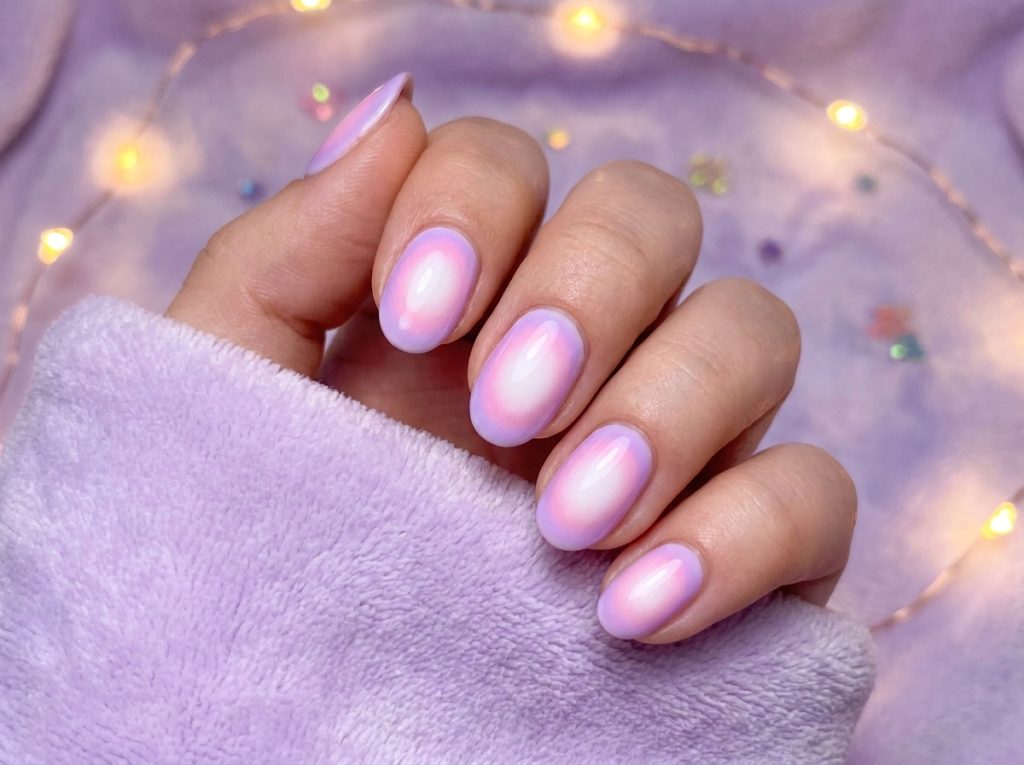
“Dreamy aura nail art on short oval nails — lavender and soft pink halo effect emanating from a white center on each nail, ethereal and glowing aesthetic, shot on a pastel purple background with fairy lights bokeh”
Pro Tips for Long-Lasting Nail Art at Home
Getting a perfect look is one thing — keeping it chip-free for a week is another. Here’s what the pros do:
Longevity Secrets
- Always start with a dehydrating base coat — oils are the enemy of adhesion
- Apply thin coats and allow full drying time between each layer
- Cap the free edge of your nail with polish to prevent tip wear
- Apply a fresh layer of top coat every 2–3 days to refresh shine
- Wear gloves when washing dishes or using cleaning products
- Avoid peeling — use acetone-soaked cotton balls and foil wraps instead
- Moisturize your cuticles daily with cuticle oil for a clean, healthy look
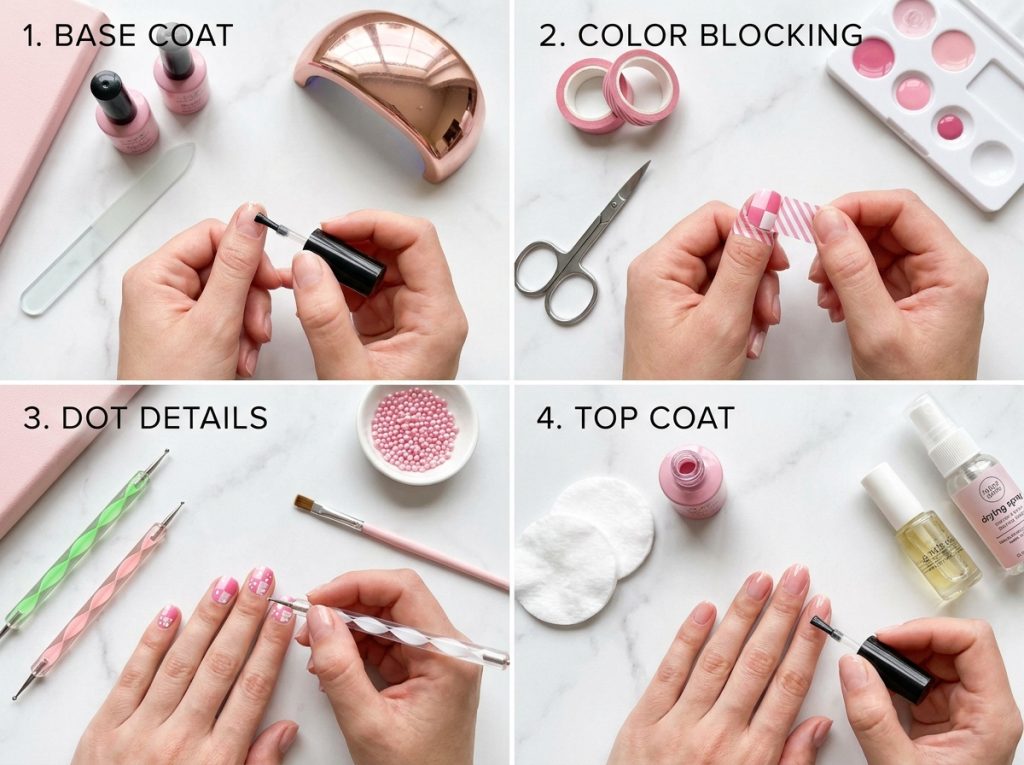
“Step-by-step tutorial flat lay: four panels showing the stages of DIY nail art at home — base coat application, color blocking with tape, adding dot details, and applying top coat — styled with soft pink props on a white marble surface”
Best Nail Polishes for Home Nail Art in 2026
Not all polishes are created equal for nail art. For designs, you want polishes with good pigmentation in a single coat, a thin, flexible brush, and a fast-dry formula. Top-rated brands that nail artists consistently recommend include Sally Hansen Miracle Gel, OPI Infinite Shine, Zoya, and the ultra-affordable Essie line. For nail art brushes specifically, brands like Maniology and Born Pretty sell professional sets for under $15.
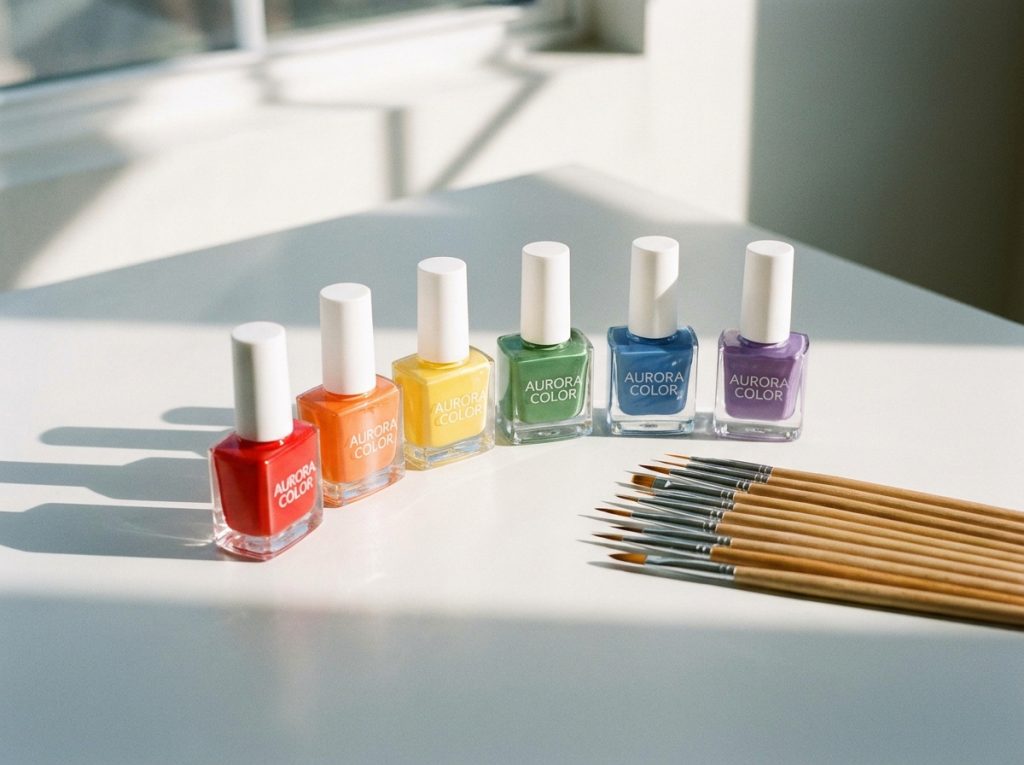
“Aesthetic product shot of six nail polishes in a rainbow of colors arranged in a semicircle on a white surface, small nail art brushes fanned out beside them, soft natural window light, minimalist beauty brand style”
Seasonal Nail Art Ideas to Bookmark
One of the best parts about at-home nail art is how quickly you can switch up your look to match the season. In spring, try pastel florals and soft ombre. Summer calls for bright neons, fruit motifs, and ocean-inspired tie-dyes. Fall is the season of tortoiseshell, warm burgundy, and mushroom cottagecore designs. Winter invites snowflake stamping, deep navy, and glittery chrome finishes. Rotating your nail look seasonally keeps things fresh and gives you a built-in reason to try something new every few months.
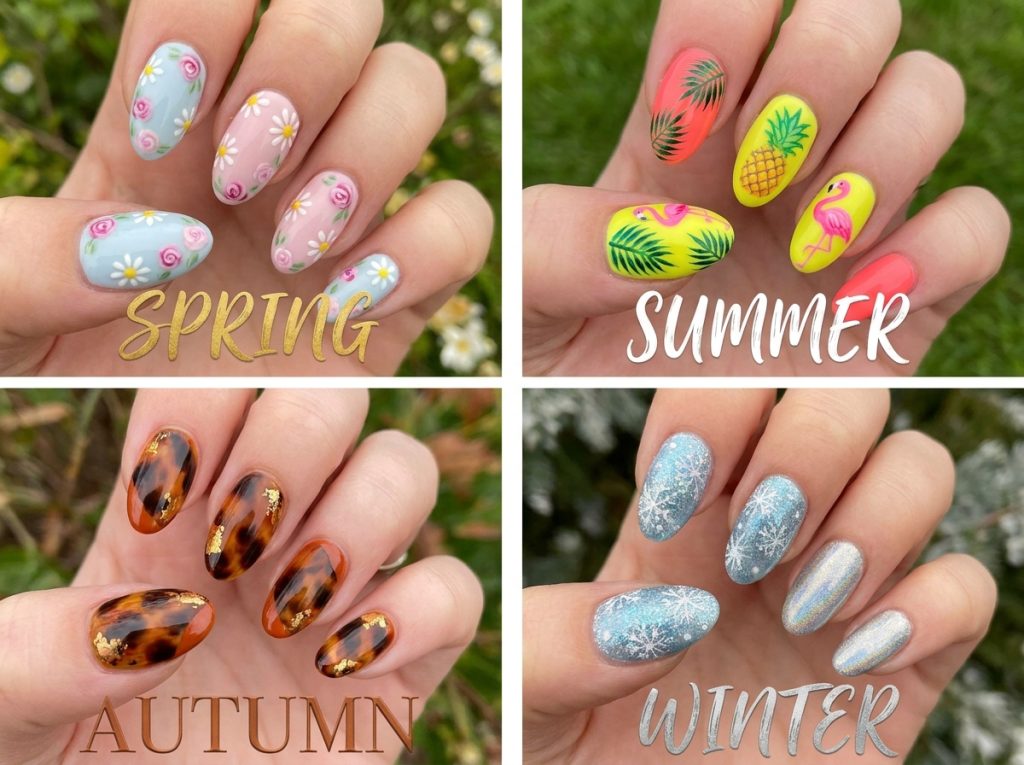
“Four-panel seasonal nail art collage: spring pastel florals, summer neon tropical design, autumn tortoiseshell with burnt orange, winter snowflake glitter — each panel labeled with season name in elegant typography, white dividers between sections”
Frequently Asked Questions
Do I need special brushes for nail art at home?
Not necessarily. While a thin striping brush makes fine lines much easier, you can achieve a lot with toothpicks (for dots and swirls), bobby pins (for dots), tape (for clean lines and color blocks), and makeup sponges (for ombre). As your skills grow, investing in a $10–$15 brush set becomes well worth it.
How do I fix nail art mistakes?
Keep a thin brush dipped in acetone-based remover nearby for instant cleanup. For mistakes on a nail that’s already dry, you often don’t need to remove everything — just apply an opaque coat of your base color over the mistake, let it dry, and redo that part. A steady hand and patience are your best tools.
How long does DIY nail art take?
Simple designs like solid colors with one accent nail can take as little as 20 minutes. Complex multi-step designs like marble or 3D florals can take 45–90 minutes, especially when you factor in drying time. Plan to do your nails while watching something — it makes the waiting between coats far more enjoyable.
Can I do nail art on short nails?
Absolutely. In fact, many of the trendiest designs in 2026 — glazed donut nails, aura nails, micro French tips — are specifically designed for shorter nail lengths. Short nails also chip less and are easier to manage, making them perfect for at-home art.
How do I make my nail art last longer?
The biggest factors are prep and top coat. Clean nails free of oils, a strong base coat, thin layers of color, and a quality top coat — refreshed every few days — can extend a regular polish manicure to 7–10 days without chipping.
Final Thoughts
Nail art is one of the most accessible forms of creativity you can explore at home — it requires minimal investment, teaches patience and fine motor skill, and gives you a tiny, wearable piece of art every single day. Whether you’re a beginner trying your first polka dot or an enthusiast tackling a hand-painted portrait on your pinky, the only rule is to have fun with it.
Save this guide, bookmark your favorite designs, and start with whichever one excites you most. Your at-home nail studio is officially open. 💅